

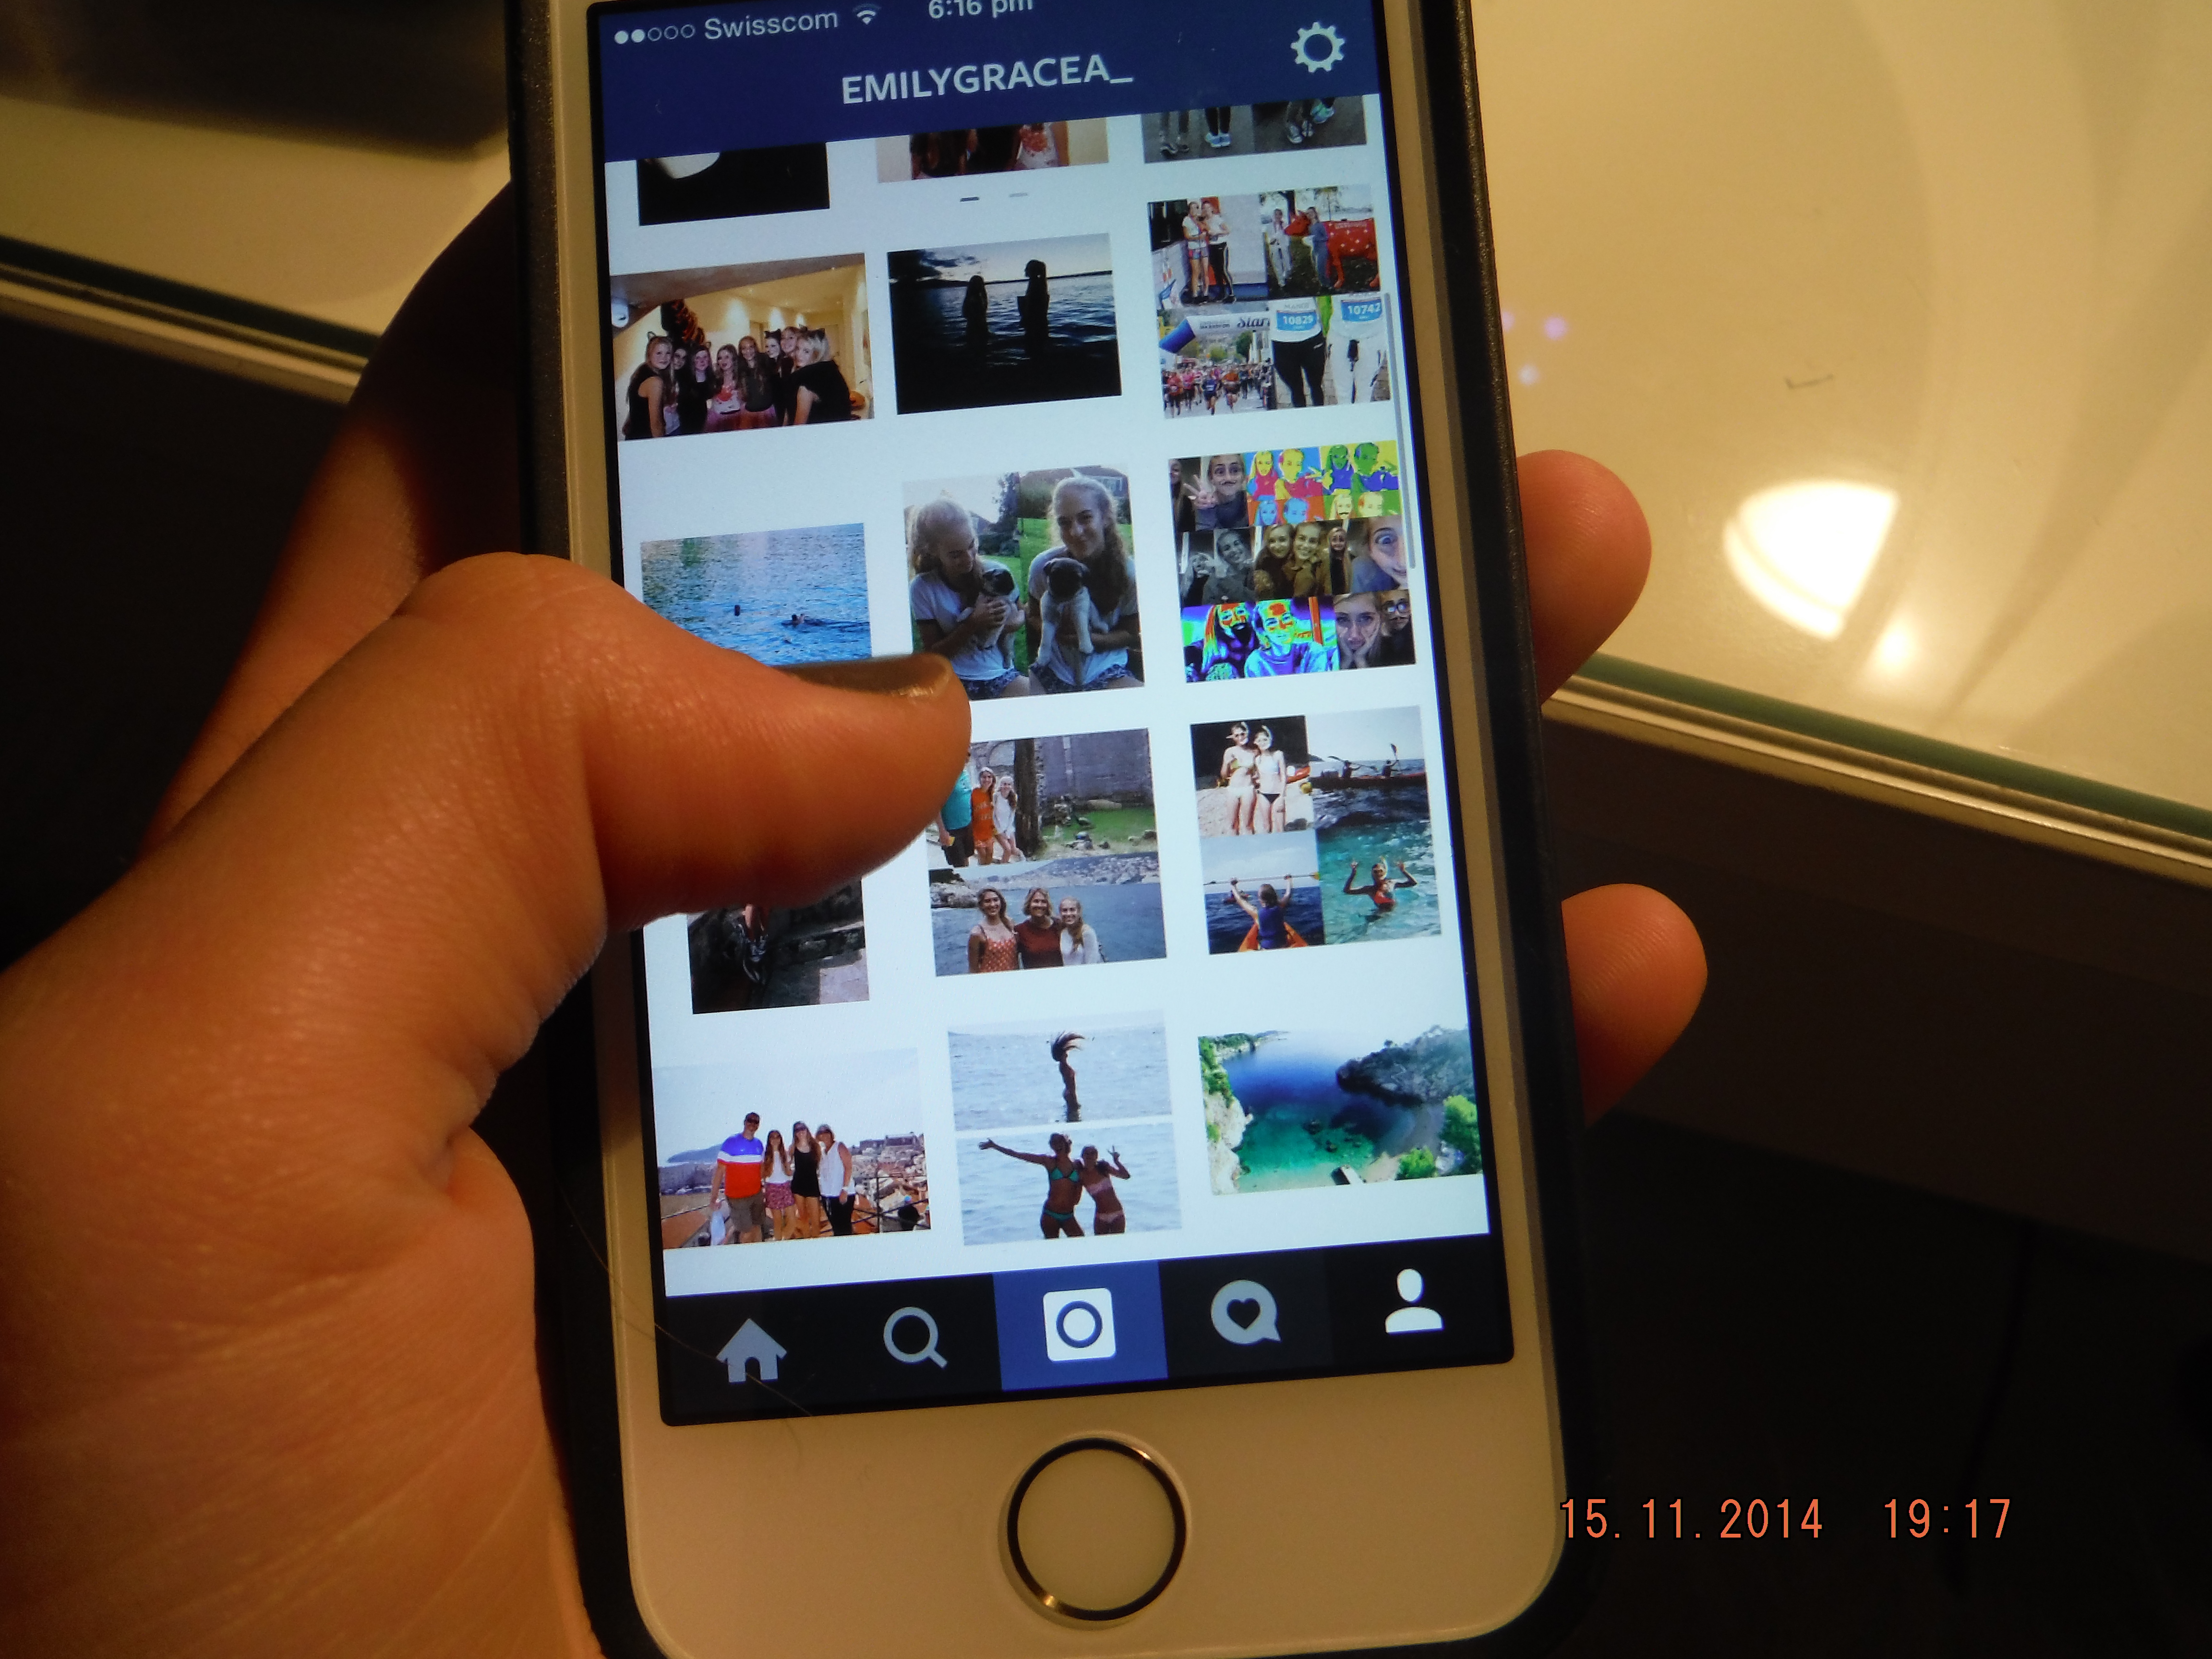
- Instagram Theme
I think the first most important thing is coming up with a theme for your Instagram and sticking with it. This makes your profile look cohesive, simple, and easy to understand. For me, I post quite random pictures of experiences in my life. I try to share important things that are actually interesting with an occasional selfie or cliché Starbucks picture... I also use VSCO cam to edit each photo and finish with SquareReady to add a balance and cohesion within all of my pictures. Overall, it's important that you're proud of your Instagram because once you post a photo it's always going to be out there whether you're private or public.
2. VSCO Cam
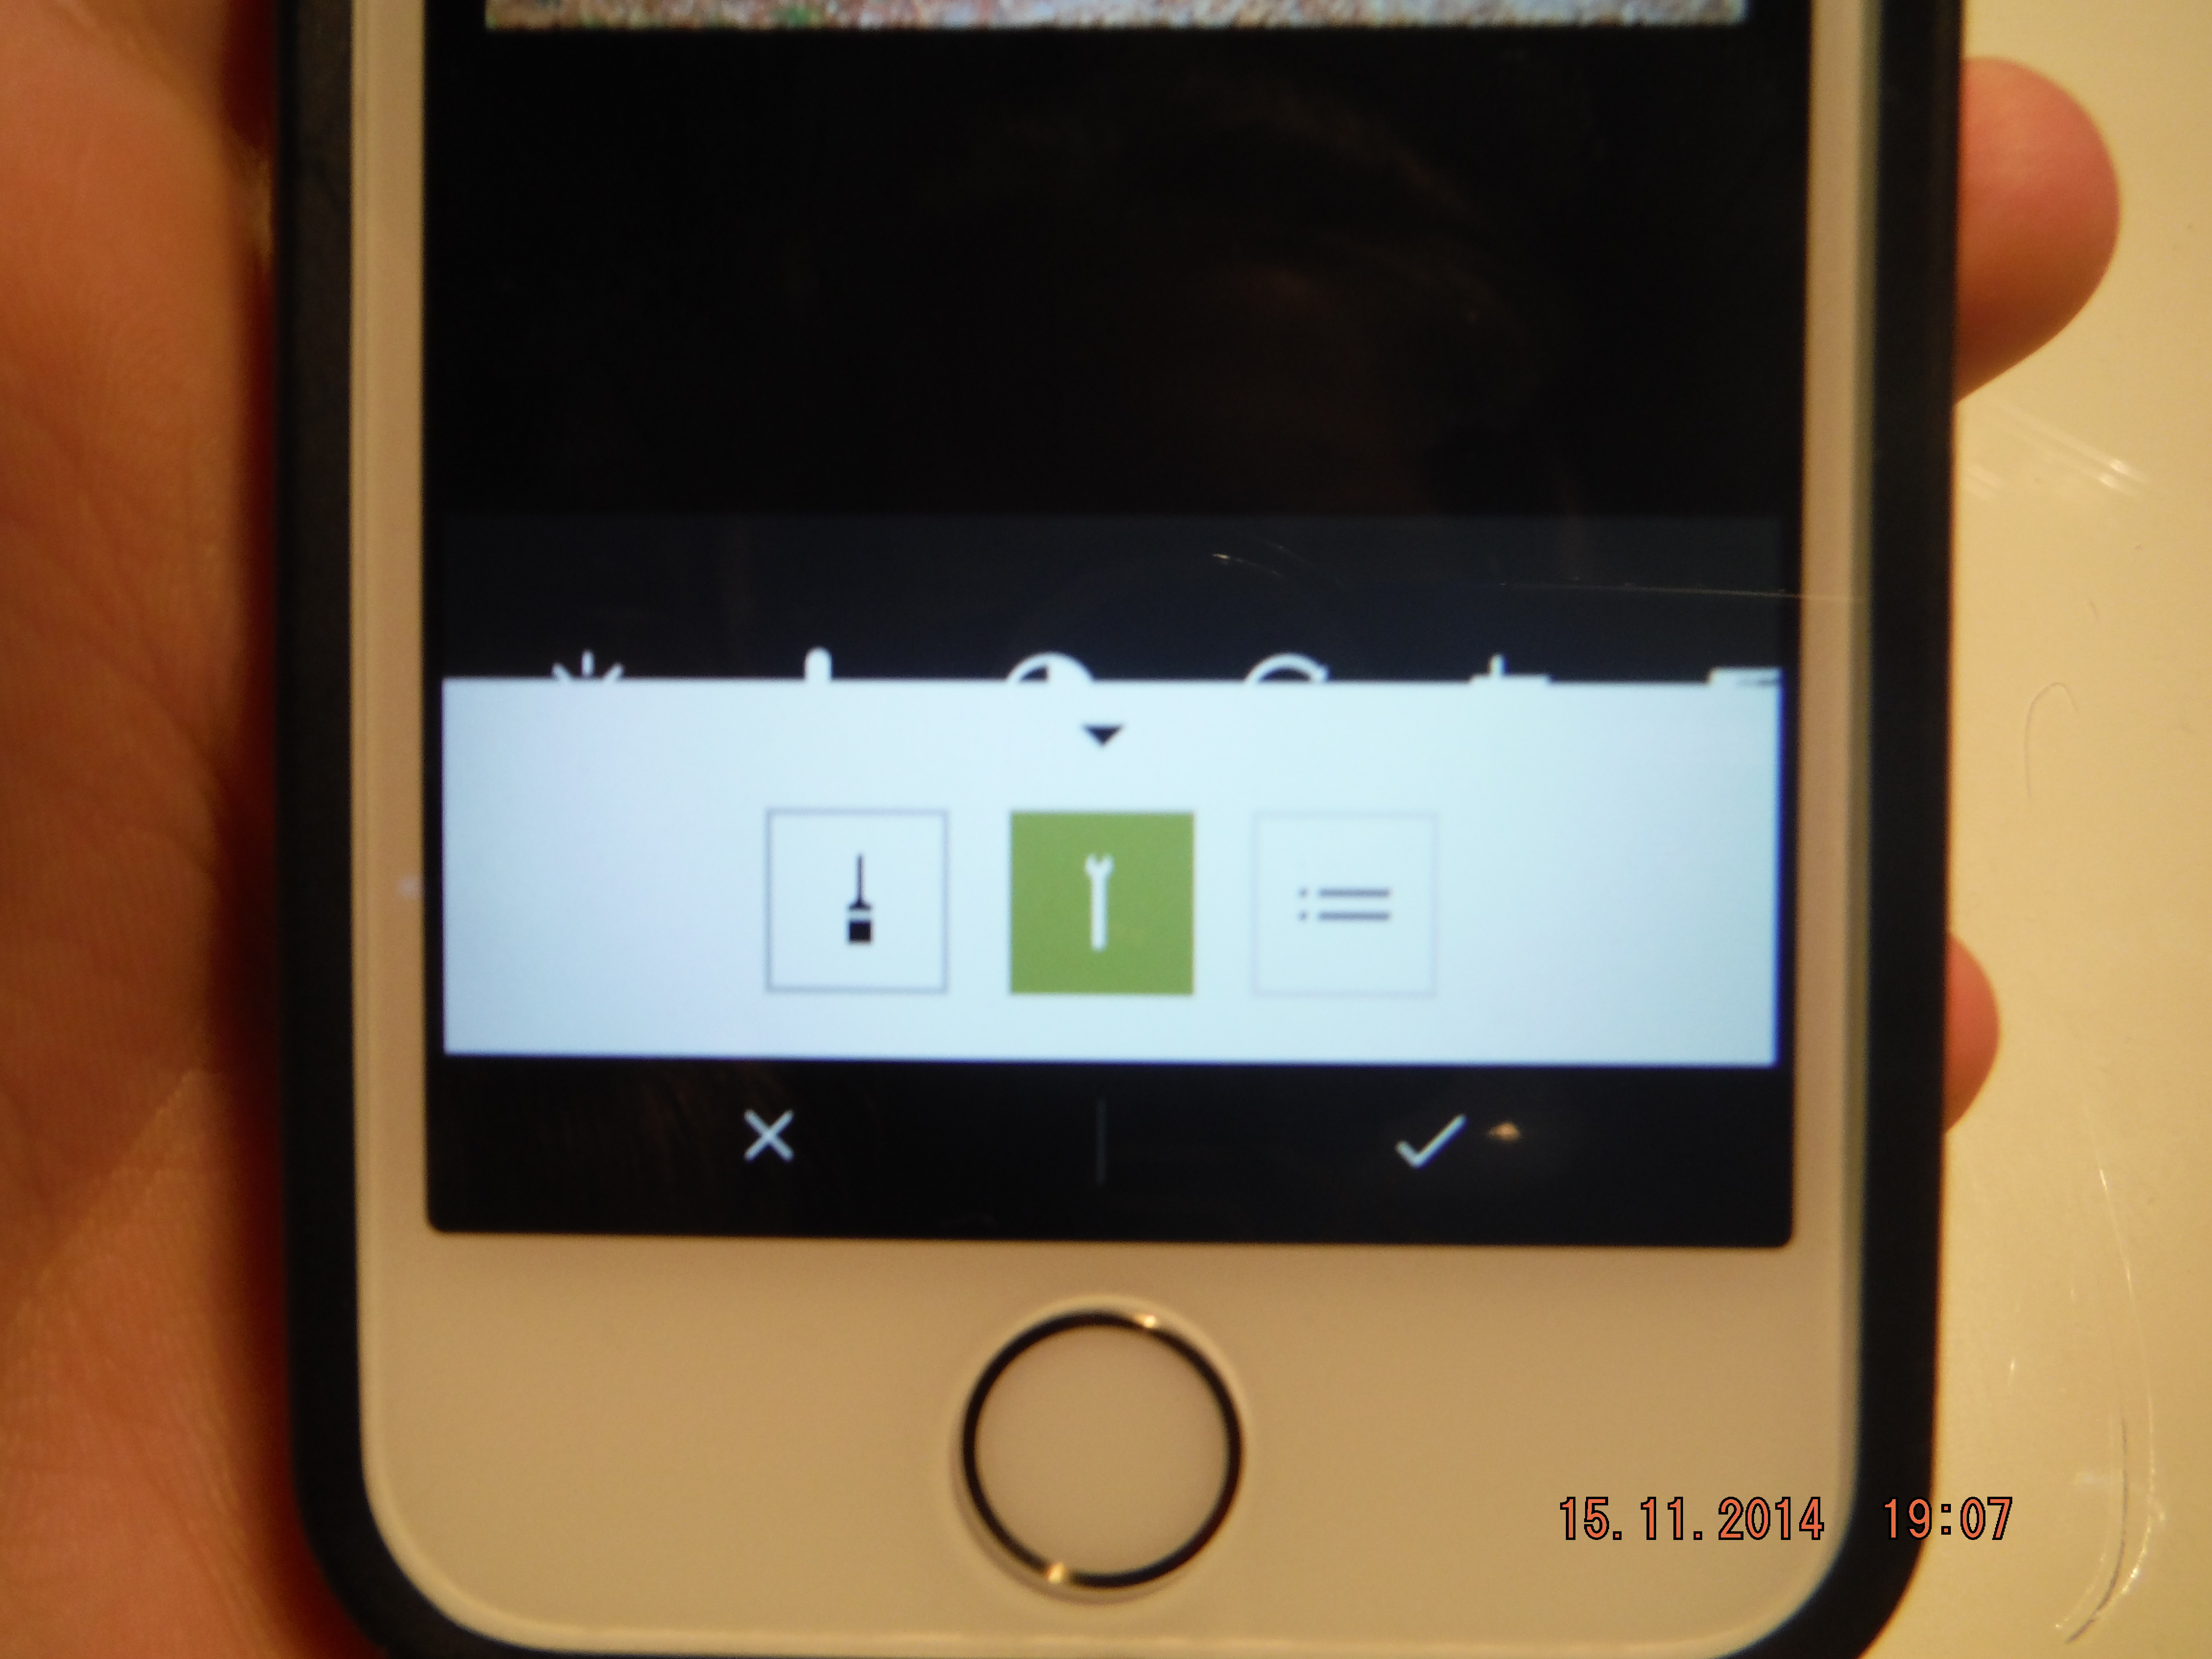
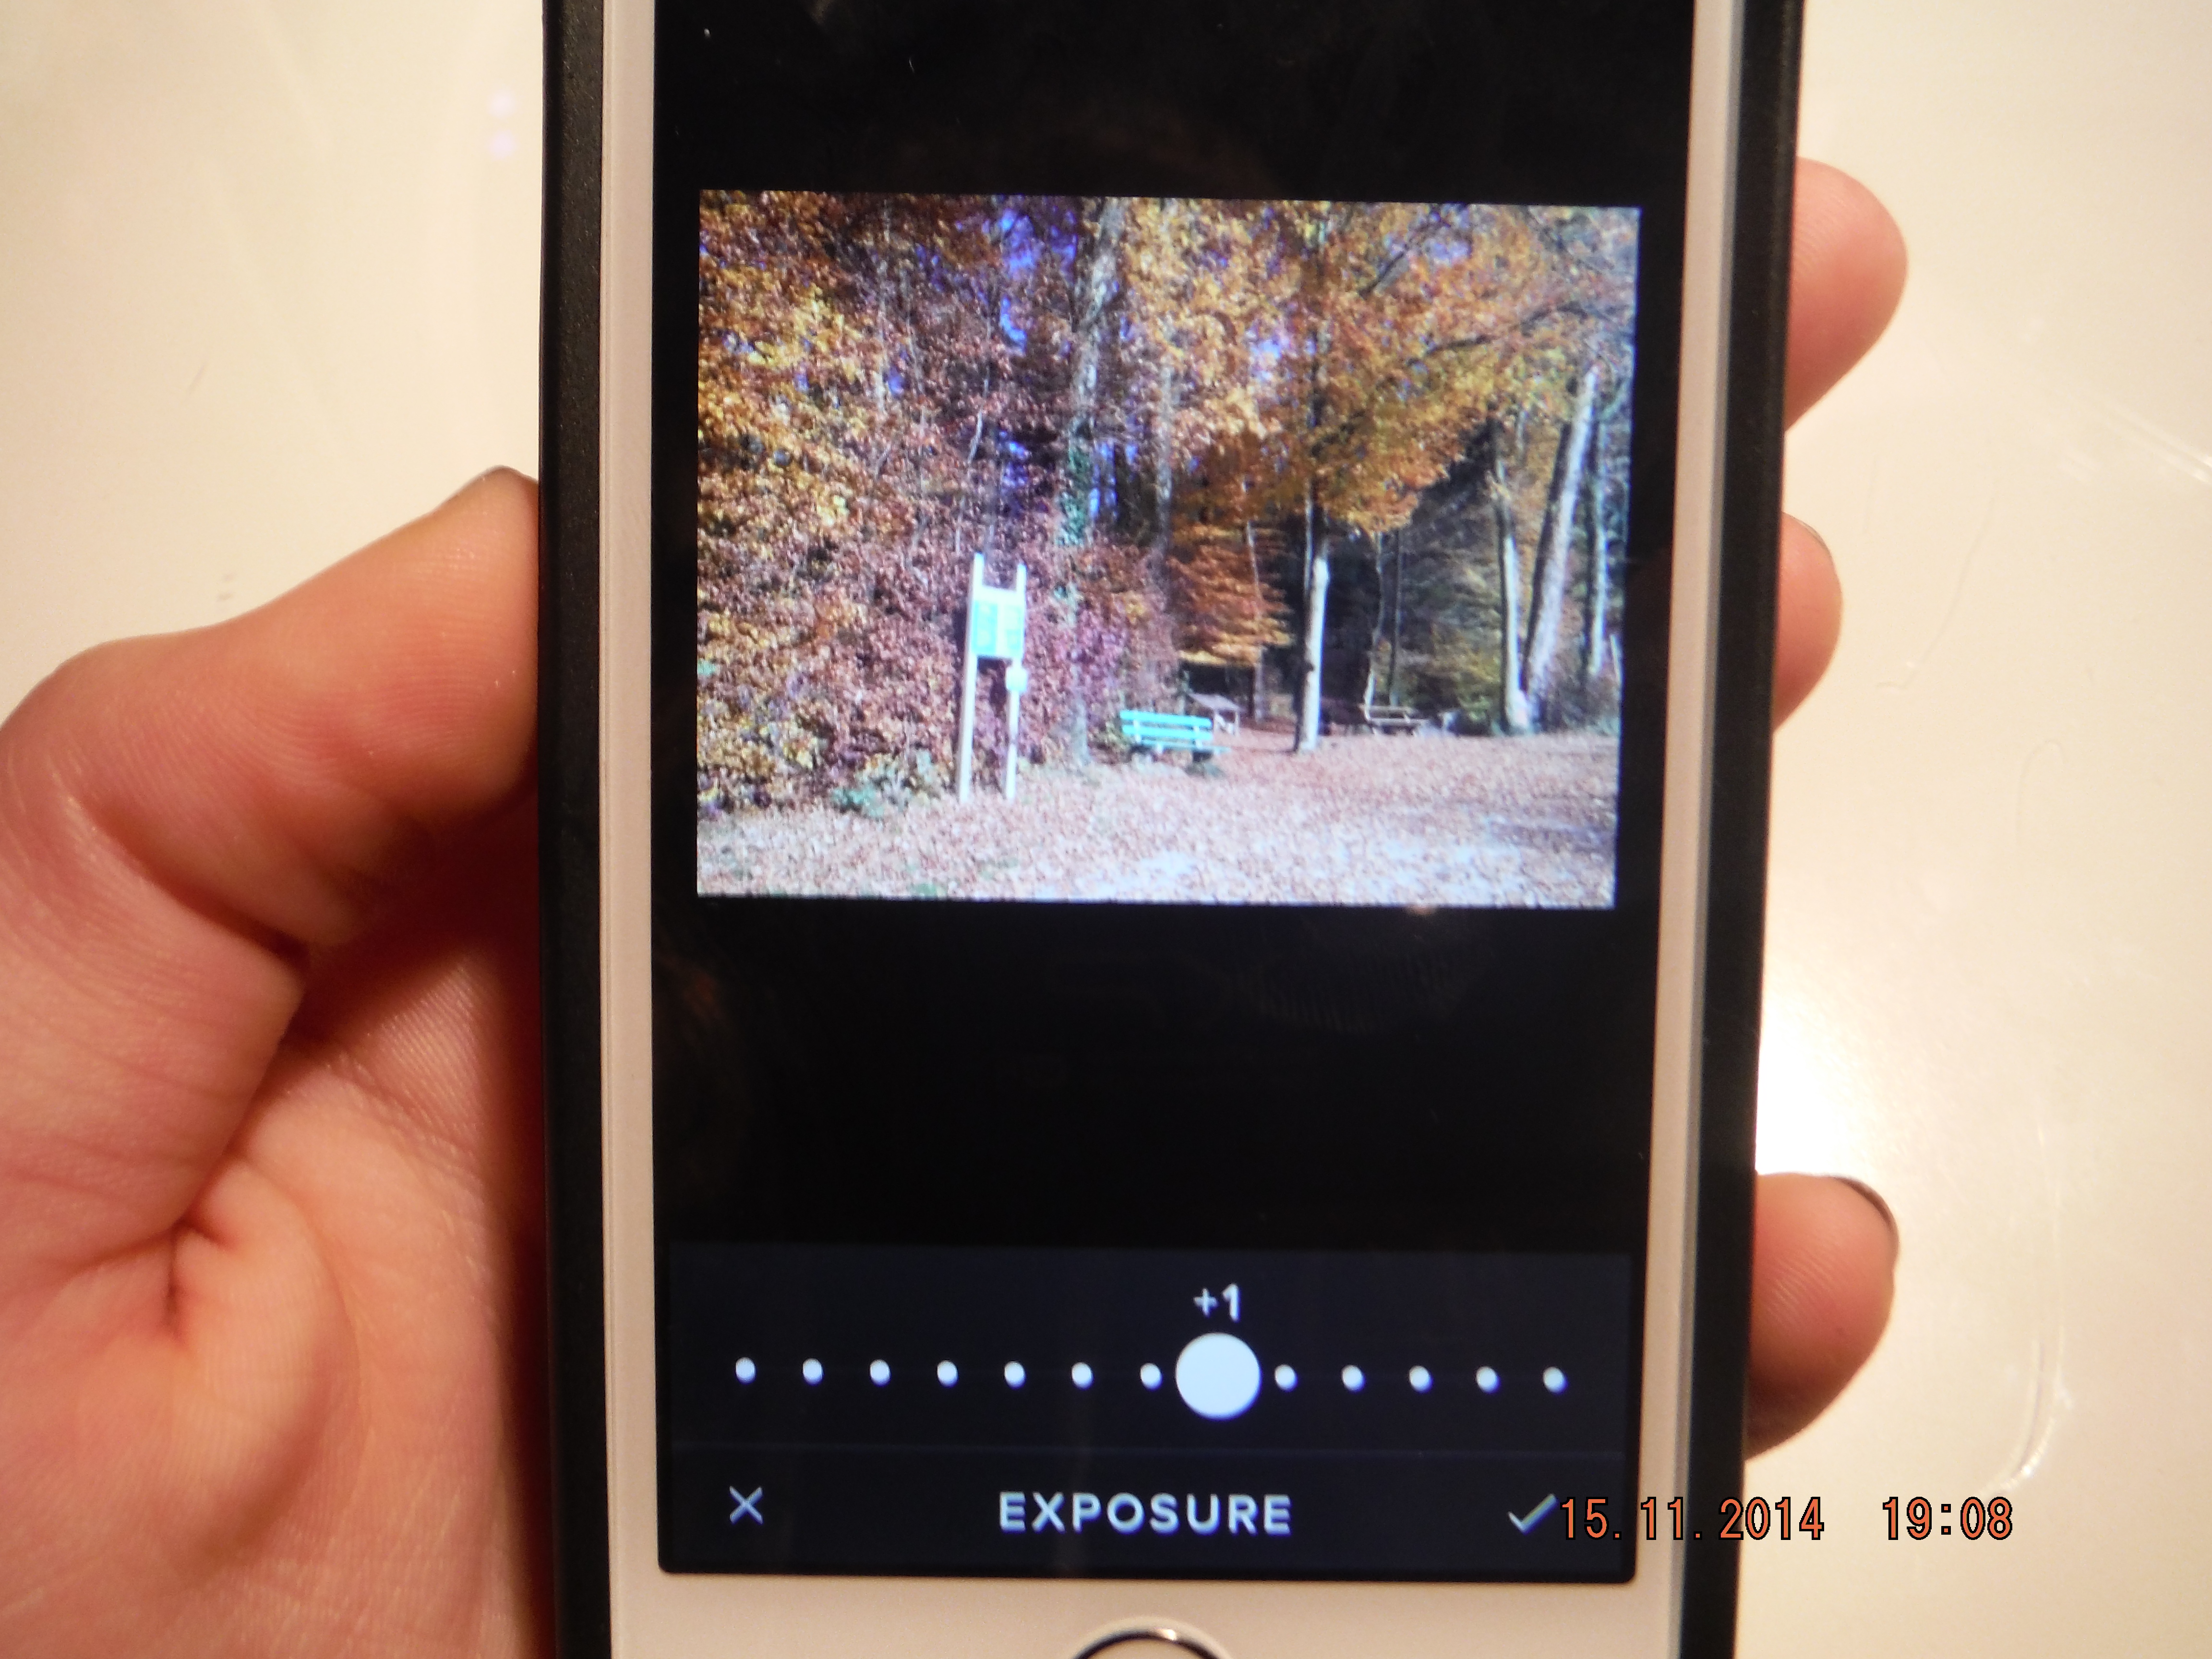
I start every photo editing process with VSCO cam. I really only use the brightness tool for settings on the photo because I feel too much fixing is ruining the quality and reality of your photos. Depending on how light or dark the photo is I adjust to fit its needs. Overall, I thinking adding brightness lightens up the photo both literally and figuratively and just makes the presence of the photo look more welcoming.

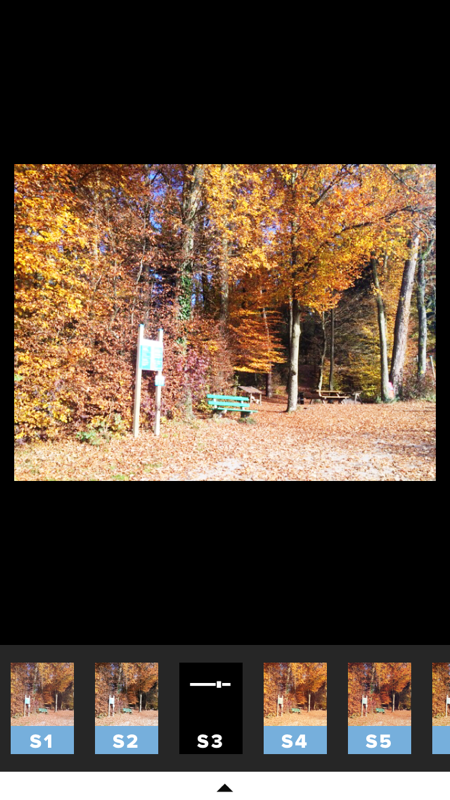
Then, I first go through my most used/favorite filters and try them out on each photo narrowing down to which ones look the best. If none of them do, then I will go through each filter until I find one which suits it well! I have purchased the whole package so not everyone will have all of these filters; however, my favorite ones are F1, K2, M4, and S3. Below is a random fall picture I took on a hike this Saturday with how each of these filters look to give you a basic idea.


3. Pic Frame
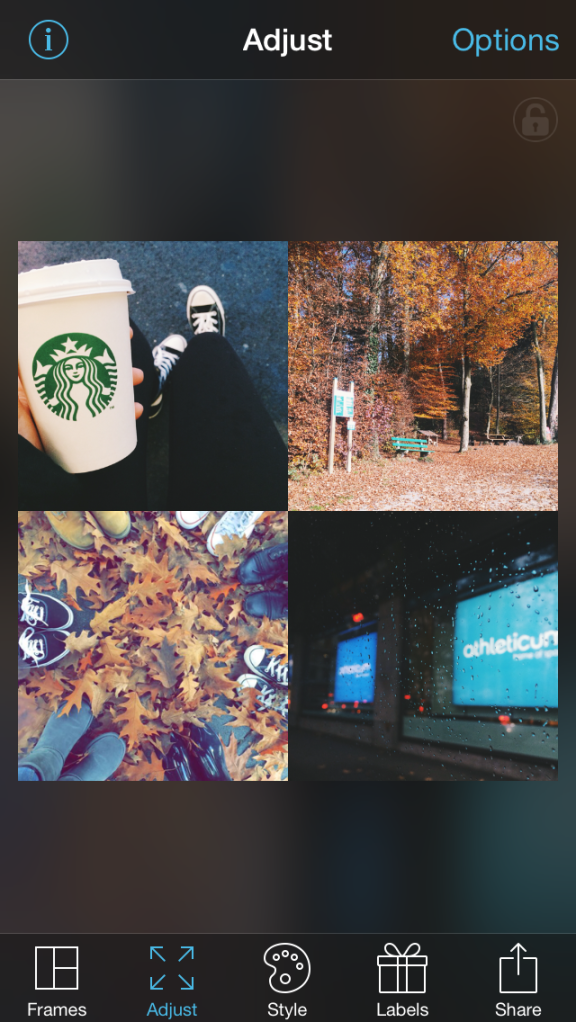
Occasionally I like to use collages, especially when I travel or have a lot of photos that I want to share at once. My all-time favorite collage app is definitely Pic Frame. I've tried countless others and always come back to this one. Simply because it is so easy to use and offers a variety of layouts ideal for any collage of photos. It is fairly simple and I also close the borders on most of my collages because I feel it makes it look more put-together rather than a combo of separate images.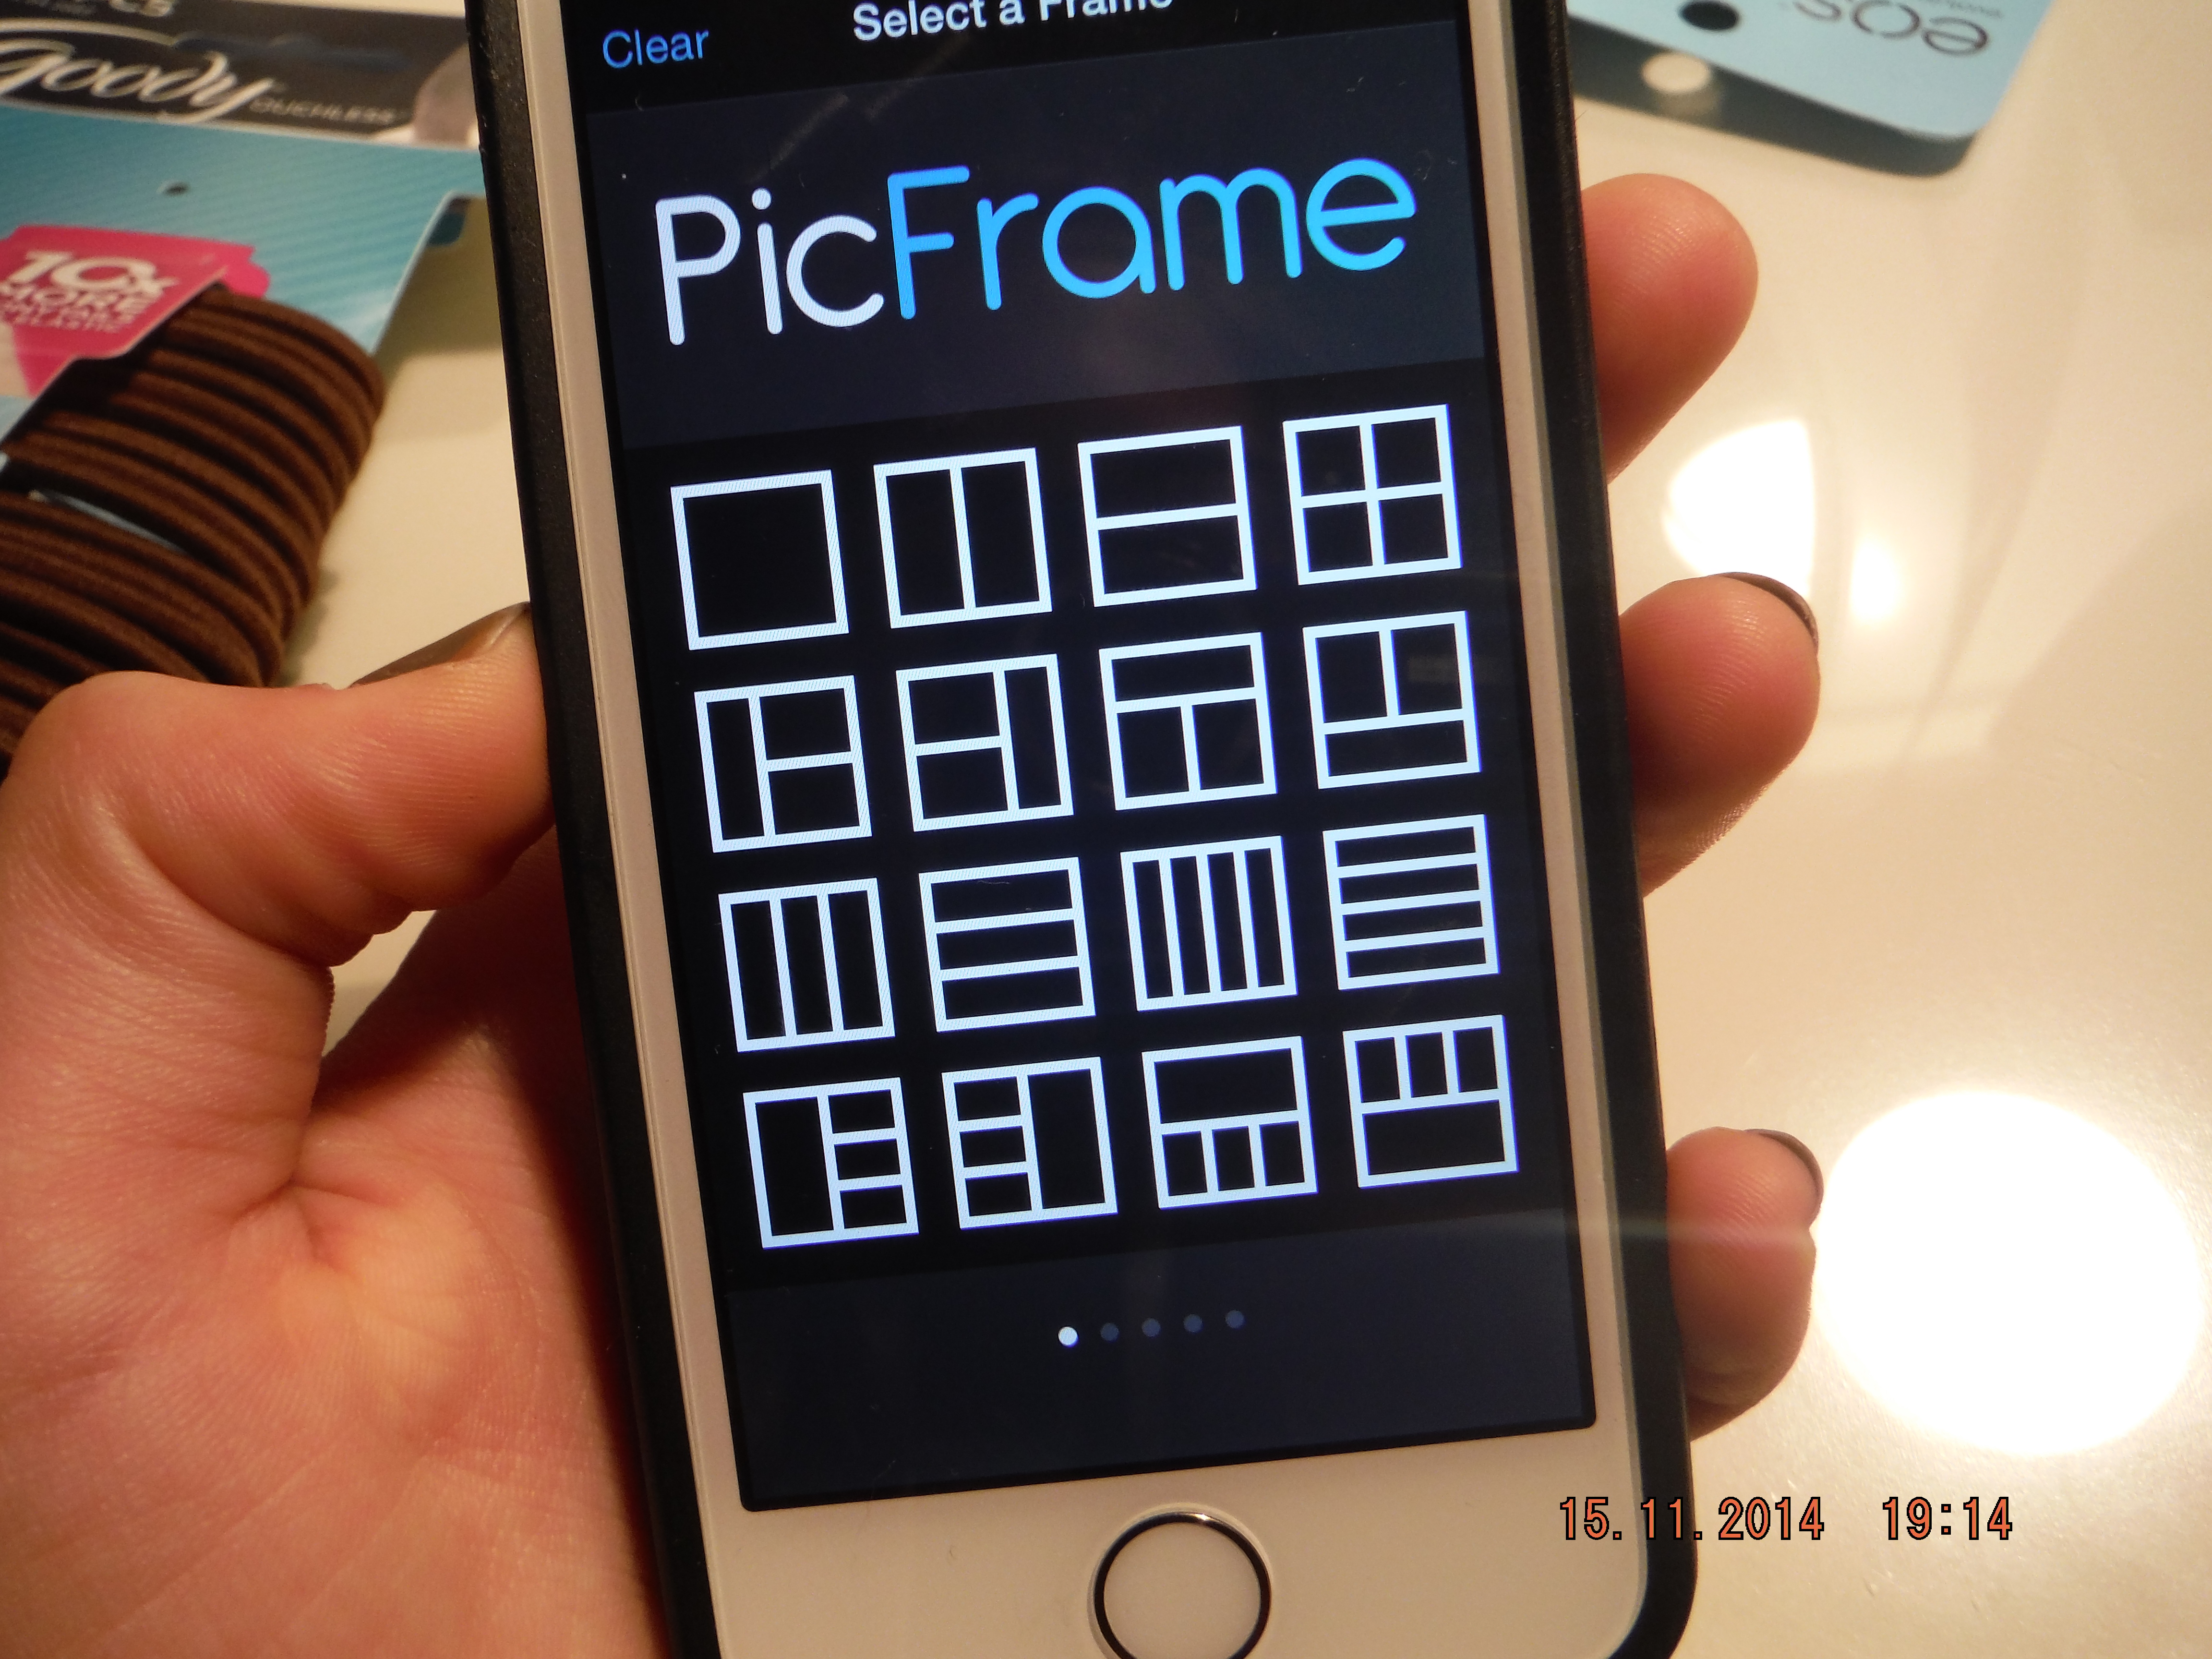

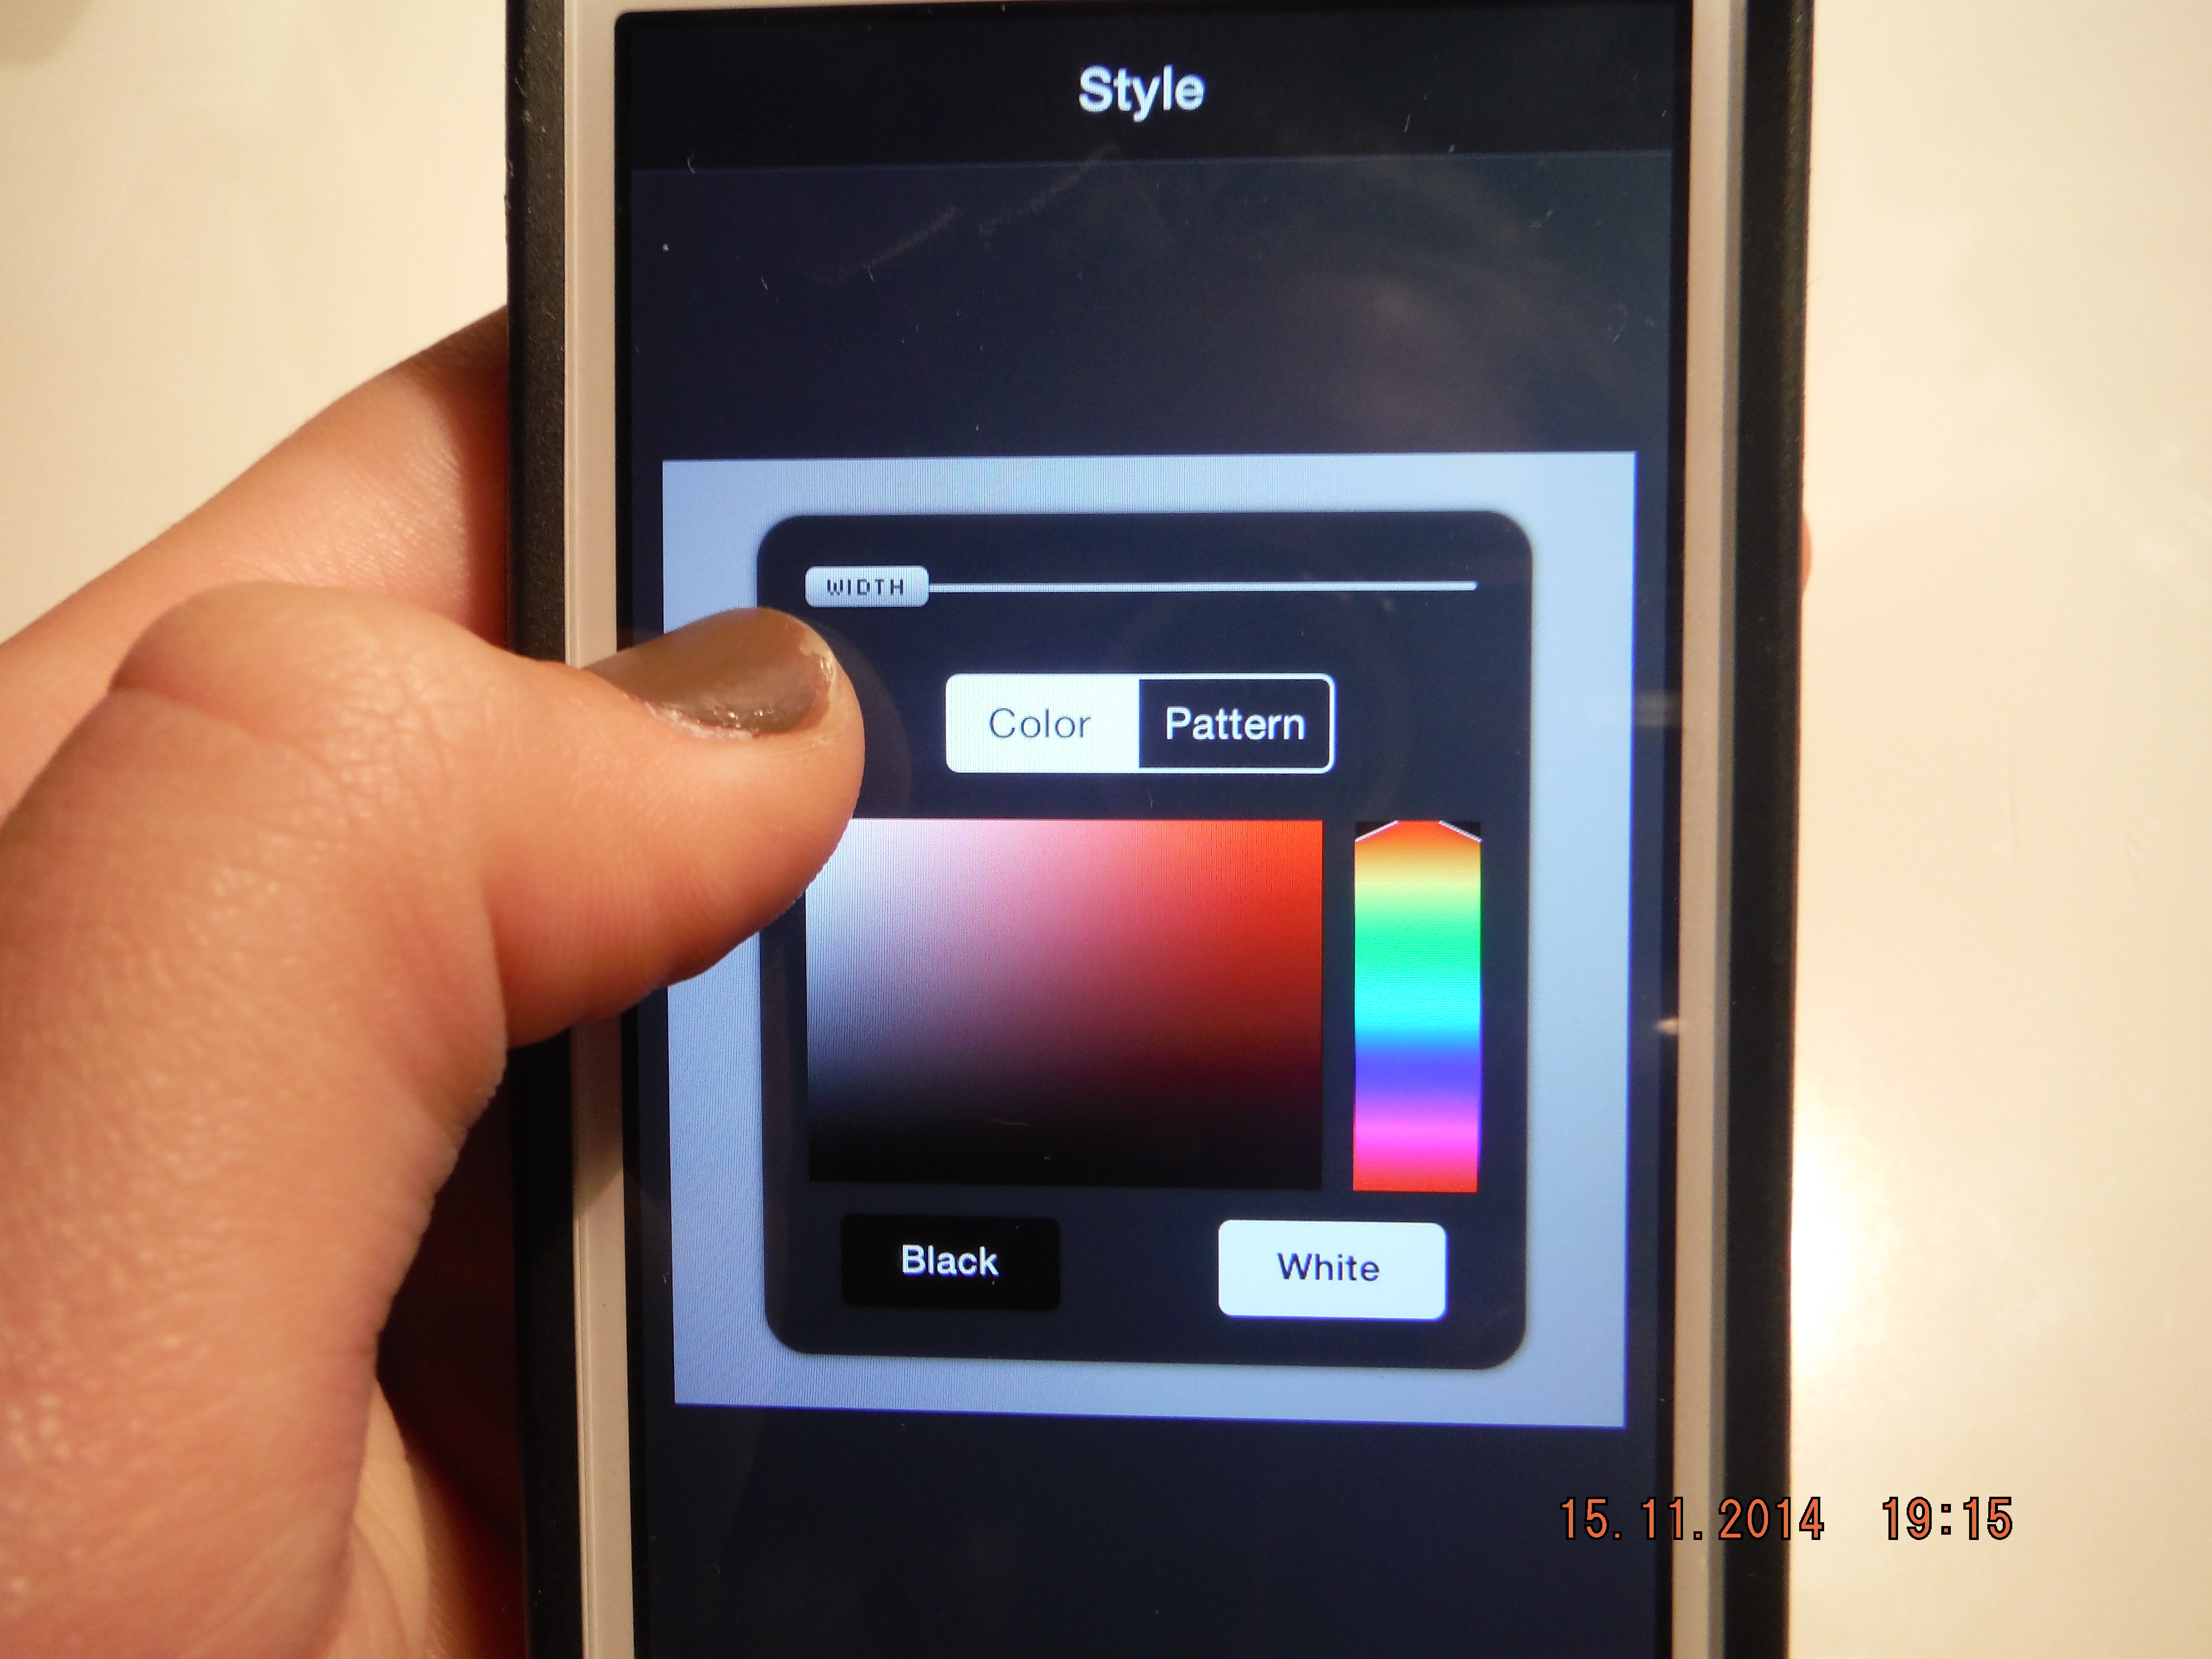


4. Squaready
For my final step I use Squaready to easily display the white border that we have probably all seen on many Instagram pictures! It is super simple and if you want to make the border a different color, you can do that too. For me, I like to keep white because I think it looks more sophisticated but the choice is ultimately yours. Then, you can either make the border just on the sides, or border the entire photo. I usually just do white to the sides, however if your photo is big or a collage you have to make all sides have borders or nothing will show!


And that is all! A quick but effective method for 'glamming' up your Instagram and making it more pleasing to look at. I hope you guys enjoyed this post and stay tuned for next Sunday with another exciting blog post! PS if you want to follow my Instagram my username is: emilygracea_
💋
No comments:
Post a Comment