
Ahh I still can't believe summer is almost over it has gone by way too fast like it always does. Anyways, in today's first part of the series I will be sharing with you my school supplies / backpack / s couple DIY's for your supplies.
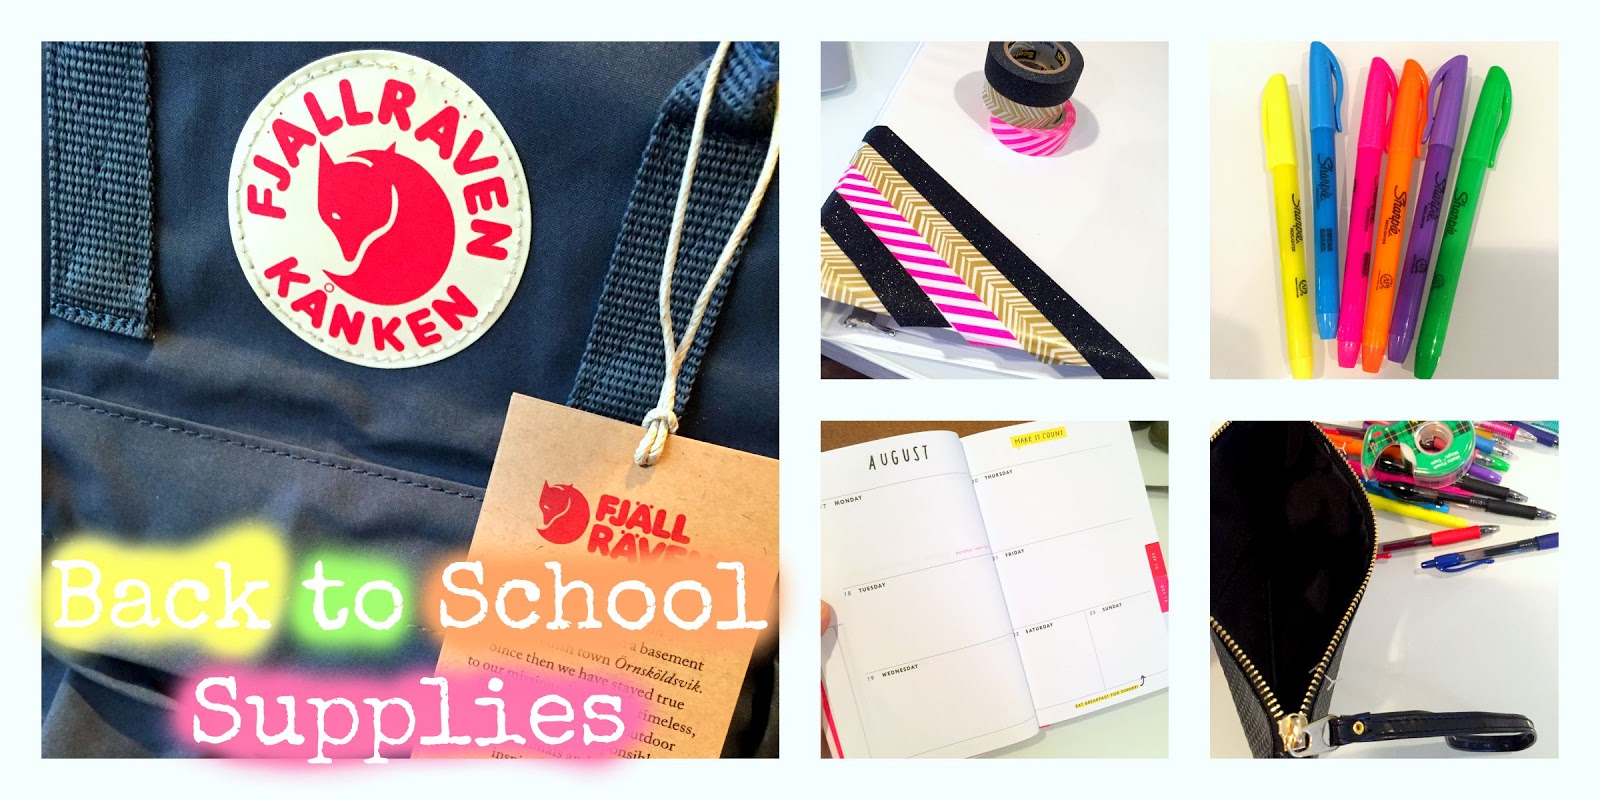
School Supply Haul
Everything was purchased from Target except for the 'emergency kit' which was bought at Urban Outfitters.


 |
| School planner |


 |
| Emergency kit filled with 22 random items (i.e rubber band, deodorant, tide stick, lip balm, etc) |


Backpack
My backpack is from the brand Fjäll Räven which you can find at Nordstrom's or online. It is in the color graphite which is basically a dark gray with blue tones. I love this backpack because it has an extra 13" compartment to store your backpack. This is so ideal because you have extra room for all your books and don't have to take up space in the main compartment for your laptop. It's also really comfortable on your arms and holds a lot of things.


 |
| Laptop compartment |

DIY's
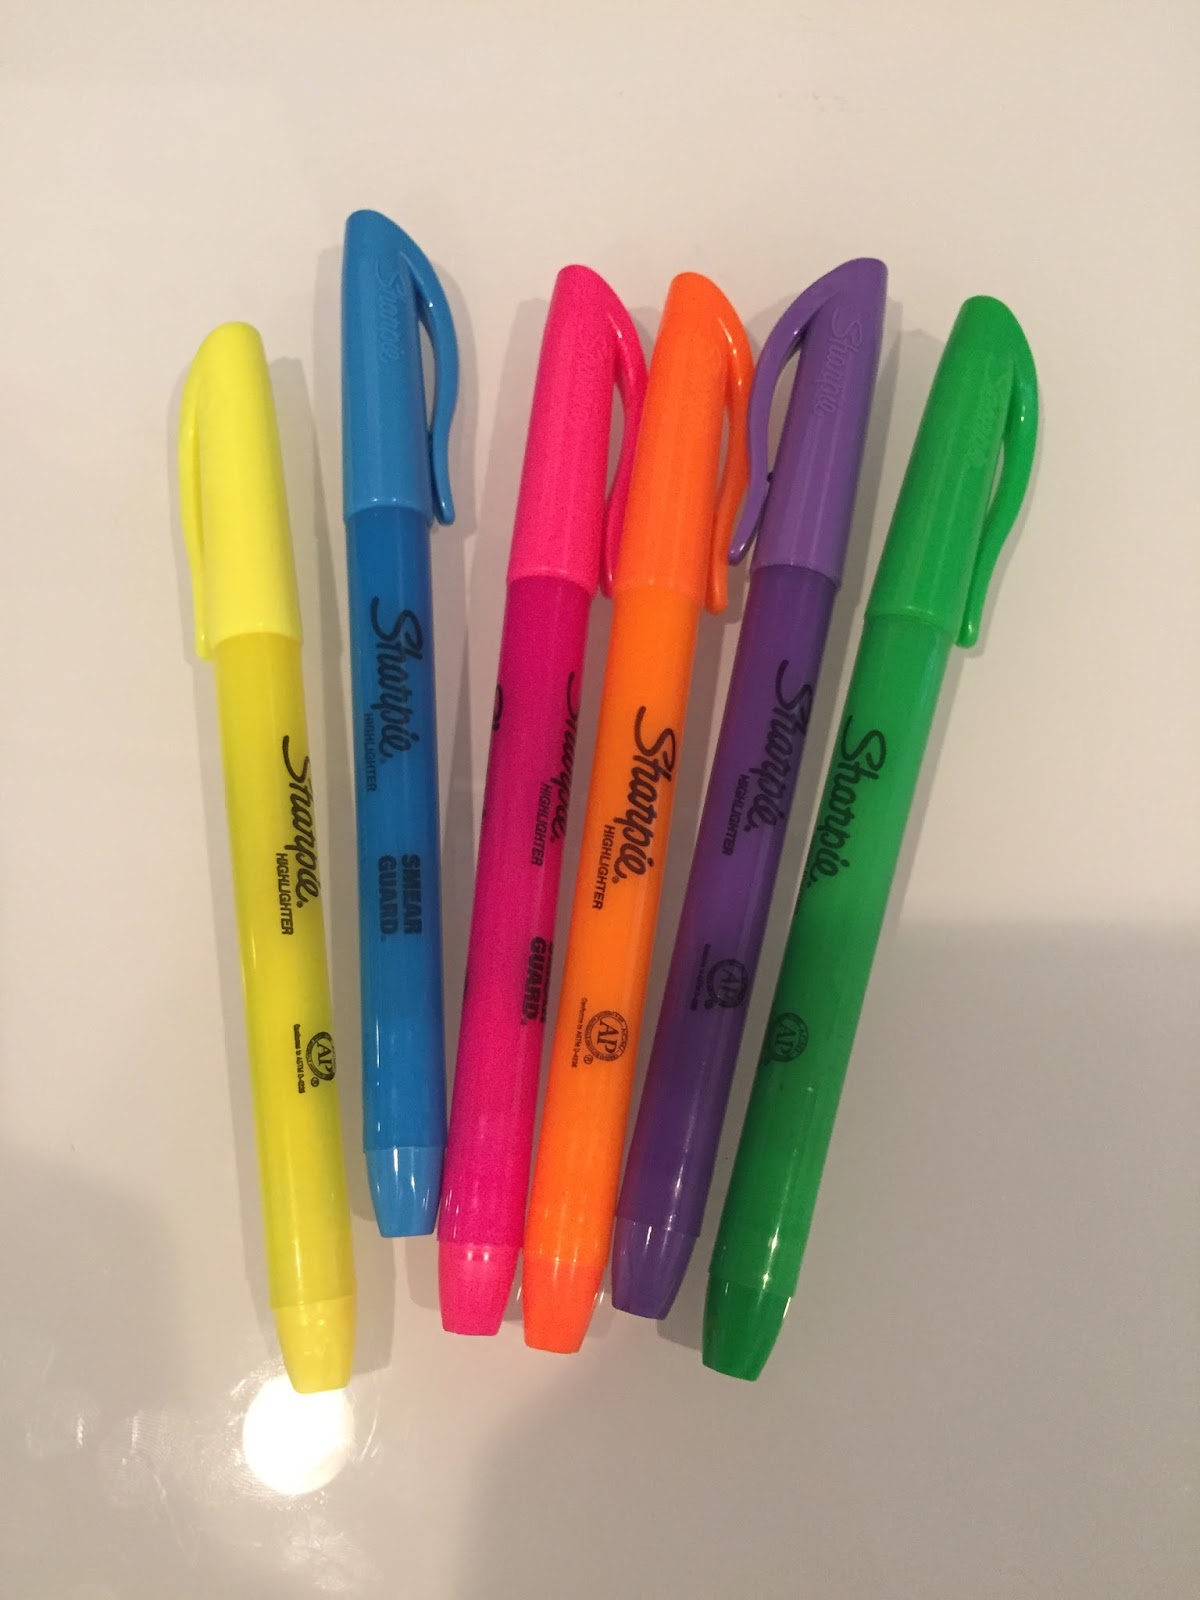
School supplies can be a really boring thing if you get basic stuff that everyone has. Instead, you can use these three super easy DIY's to add some personality to your items and keep you more organized.
The first are dividers to go into your binders. If you're like me, I get so confused with all my papers and sometimes just end up throwing them somewhere. Therefore, I decided to get white dividers with colorful tabs. Then, I took these white strips and wrote the class name AND room number and placed them inside the tabs. Now, I can easily flip to the correct class when I'm in a hurry and need to shove a paper into my binder. You can also tape your schedule to the back of your binder to keep track of your classes.


Next, I have this 5 part notebook which is super helpful because I can have all my classes inside of one notebook filled with tons of lined paper so I don't have to carry around a separate notebook for each class. It also came with a page of cut-outs to write the class and teacher but you can also make your own. I cut out each of the boxes, filled them in and taped them to the start of each section.
This could also work in a normal notebook in which you tape in titles to keep each section of the class organized. Ex: In your biology notebook you could split the notebook so one section is for classwork, one for homework and one for test prep.


Next, is a DIY to jazz up your binders or notebooks with washi tape! I love washi tape and I'm so happy I can finally use it because they didn't have any in Switzerland :( Anyways, this is a pretty self-explanatory DIY where you take different rolls of tape and add a design to the corners or all over the surface. I bought a white binder and added some tape to the bottom to keep it simple with a pop of color.


Finally, this is more of a tip than a DIY but it's to screenshot your schedule and set it as your lock screen for the first couple weeks of school. I've seen this on so many back to school tips and think it will be super helpful rather than searching for your schedule in your bag or going through your phone to find it.

ReplyDeleteThanks for the information. Hope devotes will be careful after reading this post.Regards
School Supply Online