
This DIY is literally so much easier than I thought it would be and so far I couldn't be happier that I ripped my jeans. Because to be honest I was quite hesitant about ripping up my only pair of black jeans in case it went wrong but whilst cutting the jeans I realized you really can't mess them up. Anyways, lets get into the DIY...

Jeans:
- Light Pink: Nordstrom's
- Black: PacSun//Bullhead
Pre-Ripping
First you need to choose the style of cut you want. For these jeans I chose to do some knee holes and other various cuts throughout the pants.


The next step before ripping is to gather all your materials needed
- Scissors
- Jeans
- Tweezers
- Ruler (optional)
- Pencil (optional)
Lastly, put on the jeans you wish to rip and stretch them out a bit. Bend down, kick your legs and just make your jeans stretchy! This will make them easier to cut and ensures that they do not stretch after cutting them.
Ripping
Now the ripping begins! Start by taking your pair of jeans and laying them out on a flat surface.
Then, you can use a ruler and pencil to draw out lines on specific areas that you want to cut. This step is optional and if you feel confident you can just cut freely-remember you really can't mess them up!


Next is a very important step to making your jeans look perfectly distressed! Tweezers! Using a pair of tweezers pull at the strings to make them longer and cross over some of the holes. This makes the holes look a lot neater and not like you just cut a huge rip in a pair of jeans (which is basically what you did).


Then, you can use a ruler and pencil to draw out lines on specific areas that you want to cut. This step is optional and if you feel confident you can just cut freely-remember you really can't mess them up!
Take a pair of scissors and cut small slits on the cutting area. Depending on the look you want the cuts will vary.
Use your hands to pull apart the slits that you made. Or if you want a longer rip you can just cut deeper with the scissors. I recommend using your hands if you want a knee hole or larger rip!
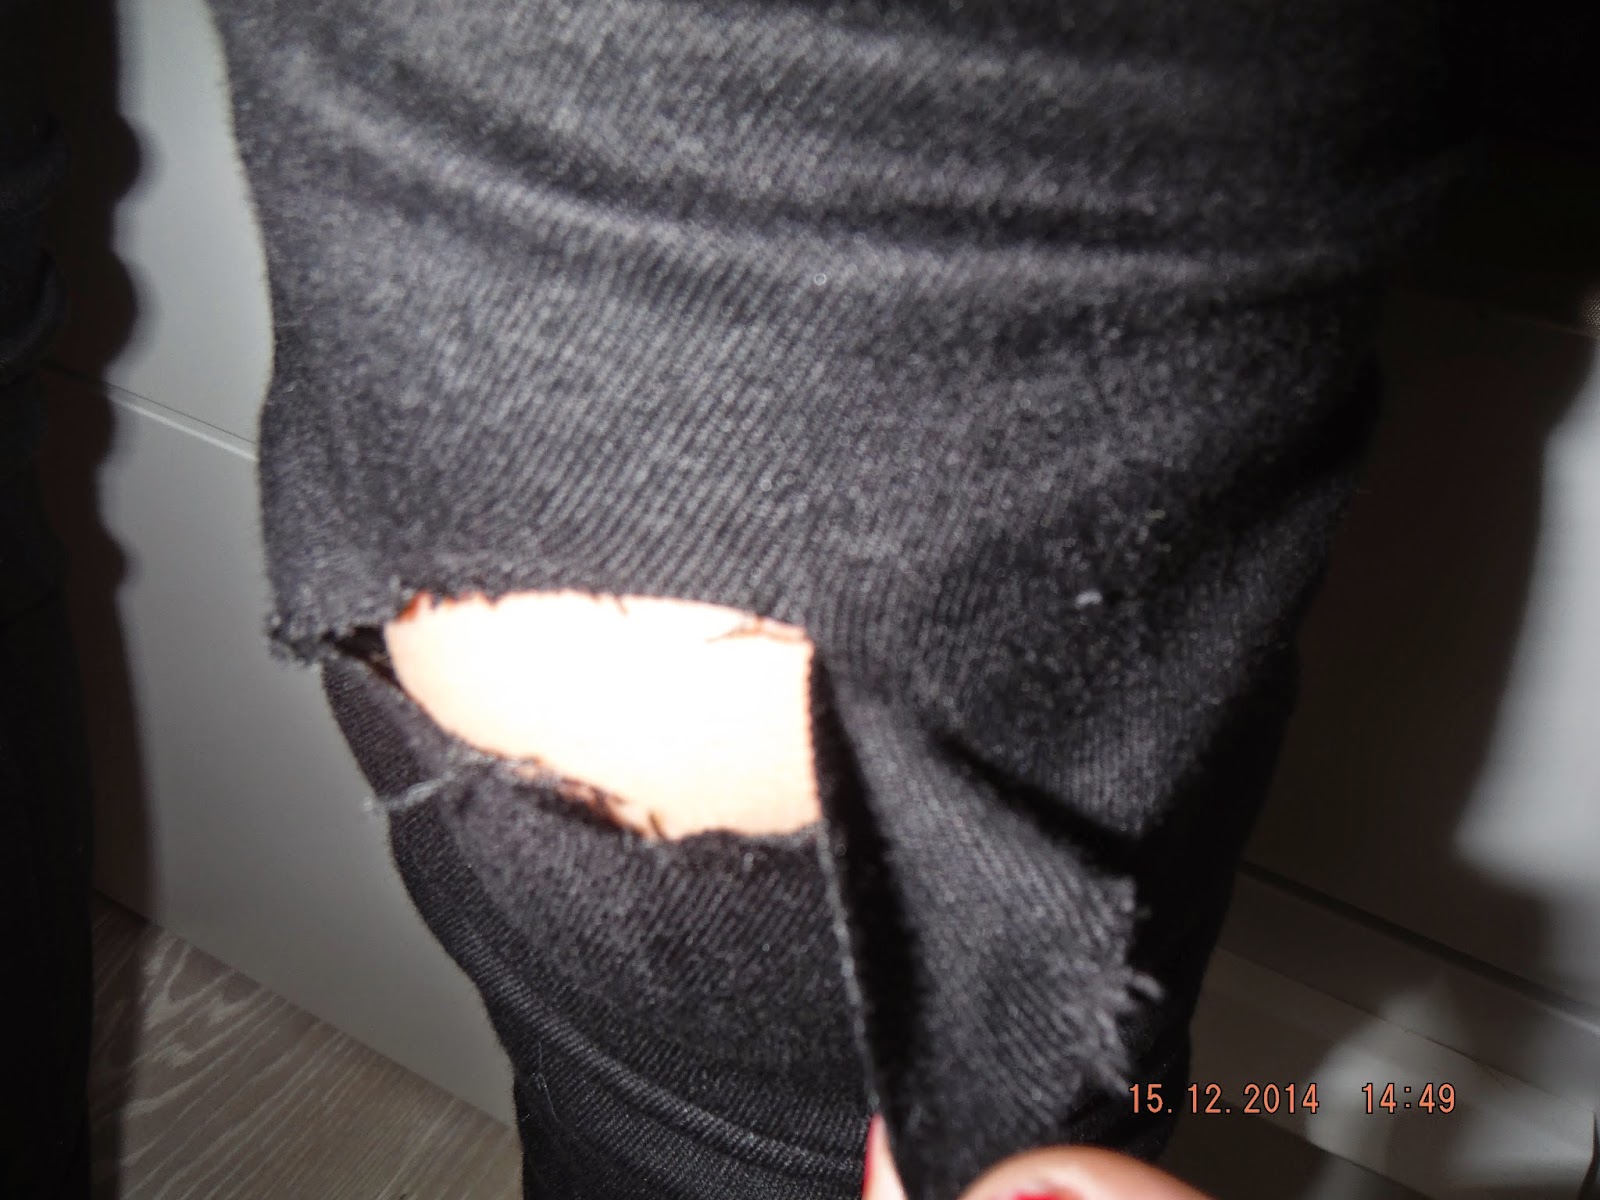
For a knee hole, after cutting the small slit you can rip with hands or pull the jeans back on (so can you see where your knee is) and cut a circle around the part of your jeans where your knee is or underneath.
Finishing Touches
Put your jeans back on and take a look! You can cut some more slits whilst wearing your jeans so if you are hesitant at first don't cut too much or else you can't go back. Afterwards I would suggest putting your jeans in the wash to hold the rips together and make them a bit tighter. Then, have fun wearing your newly pair of distressed jeans for no cost at all!


Thank you so much for viewing this blog post and I hope some of you try out this DIY to an old pair or just any jeans that you want to add some extra style or sparkle to. I hope you enjoyed and I will talk to you next week xxx
No comments:
Post a Comment